An Apple ID is the account you use to access Apple services like iCloud, the App Store, the iTunes Store, Apple Music, and more.
Once you’re all signed out of your iTunes/iCloud account, you can create a new account. Go to Settings > iCloud and tap Create a new Apple ID.

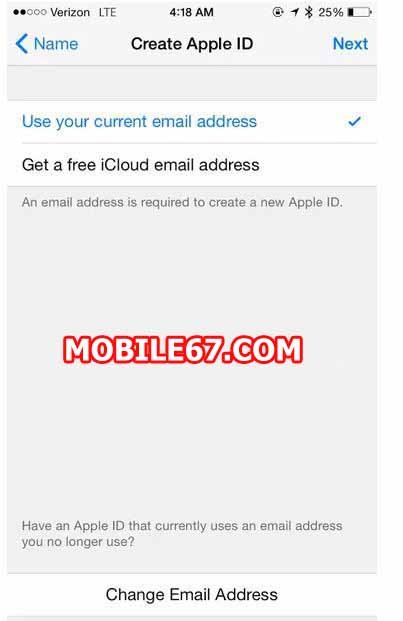
You’ll be asked to enter in a birthdate, name, and email address. You will also be asked to choose a password, pick and answer three security questions.
Step 3: Verify your account
Check your email to find Apple’s verification message. Click on the link in the email message to verify your email your address. Apple will ask you to sign into your new iCloud account to verify your address.
Step 4: Choose the country on your new iTunes/iCloud account
Before you can start grabbing apps from another country, you’ll need to pick the country on your new account. To do this, open the App Store and tap Featured. Scroll down to the bottom of the page, where you’ll see a button that says Sign In. Tap this button and sign in using your new iTunes/iCloud credentials.

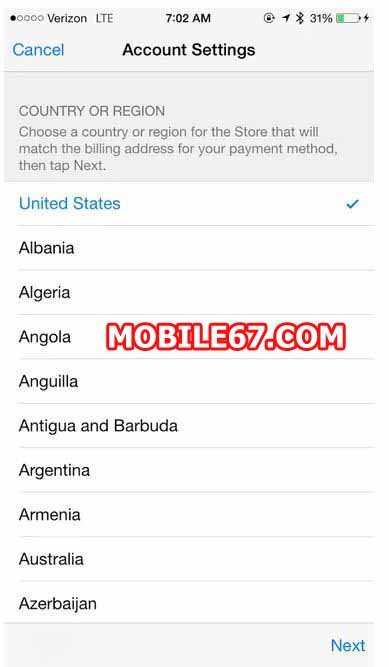
You should see a pop-up informing you that you haven’t used this Apple ID on the iTunes store. Tap Review and wait a few seconds, and a list of countries will appear on the screen. Choose the country you want your new ID to be associated with, and then tap Next. Apple will ask you to agree to some terms and conditions, tap Agree.


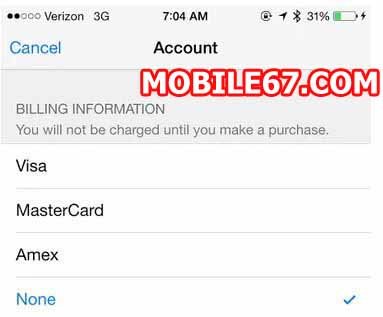
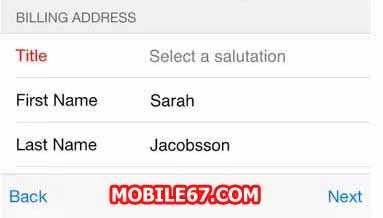
Next, Apple will ask for your billing info. In order to move forward, you will need to input a billing address and phone number that matches the country you chose, but you do not need to add a credit card at this time. So you can use any address – a government building, a bank, a hotel. You won’t be able to download paid apps without a credit card, but this way you’ll at least get to download free apps from that country.
After you verify your email address, you can use your Apple ID to sign in to the iTunes Store, App Store, and other Apple services
